Getting Started
Create Your Church Account and Start the Trial
Setting up a church takes about five minutes. You create a login, confirm your email address, tell Church HQ about your church, and enter a card. The first 7 days are free, and nothing is charged until the trial ends.
Whoever does this becomes the church’s Owner. The Owner can do everything, including billing, and can invite everyone else later. If someone else should own the account, let them do this part.
Before you start
Section titled “Before you start”- The church’s mailing address, which becomes your main campus.
- A card. It is needed to start the trial, but nothing is charged today.
- Your church’s EIN, if you have it. This is optional, and you can add it later.
1. Open the home page and choose Start Free Trial
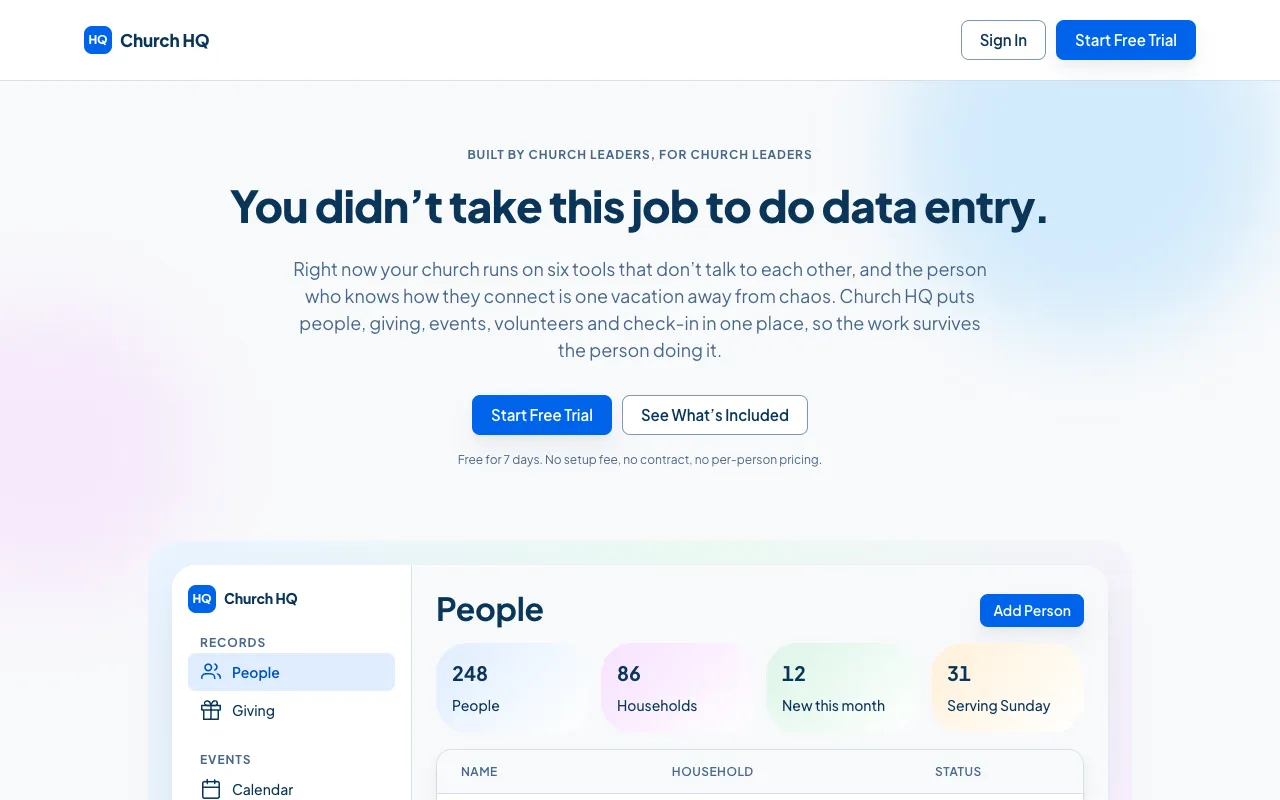
Section titled “1. Open the home page and choose Start Free Trial”Go to mychurchhq.com and choose Start Free Trial.
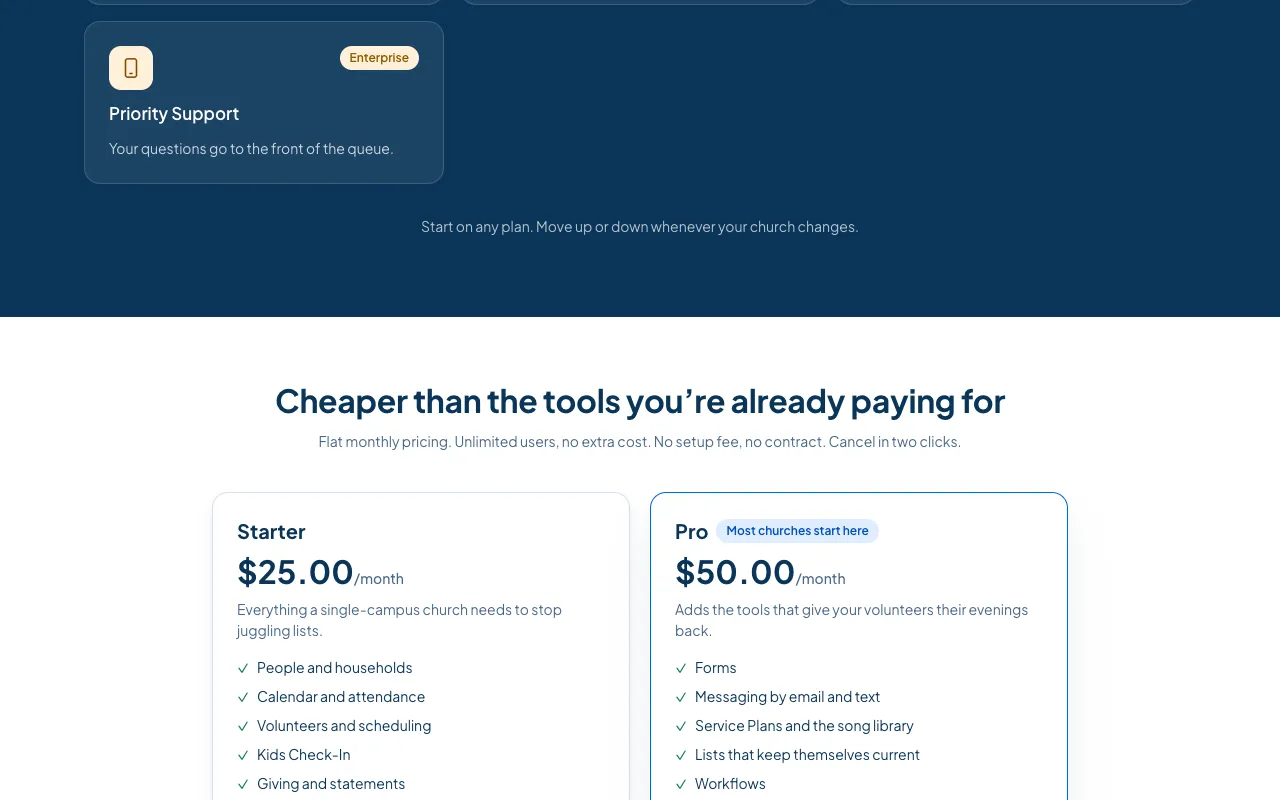
If you already know which plan you want, scroll down to the prices and choose Start with Starter or Start with Pro instead. That carries your choice into signup.
2. Enter your email and a password
Section titled “2. Enter your email and a password”This is step 1. Your Login. Use an address you check, because everything Church HQ sends you, including invitations and receipts, goes here.
Your password needs at least 8 characters, with an upper-case letter, a lower-case letter, a number and a symbol.
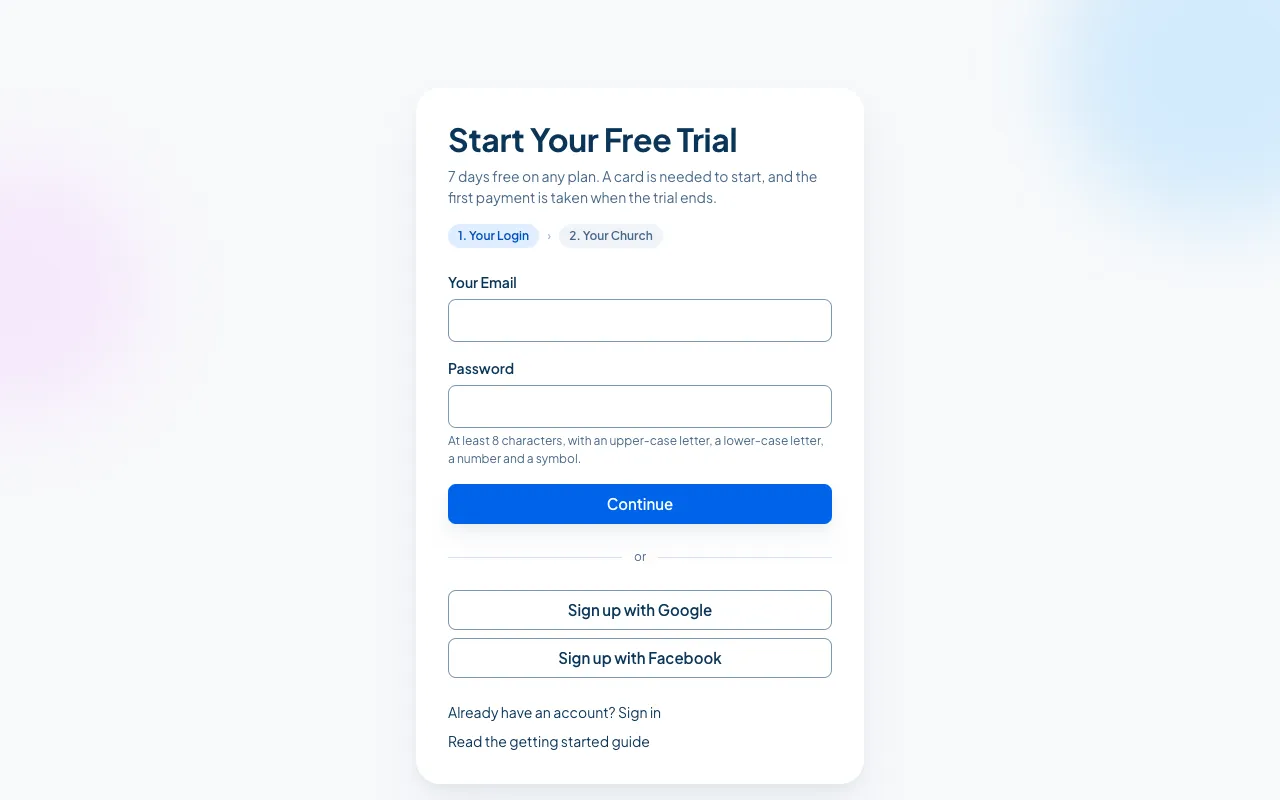
Choose Continue.
3. Confirm your email address
Section titled “3. Confirm your email address”Church HQ sends you a confirmation link and shows Check your email. Open the link on the same device, and you come back to signup to finish.
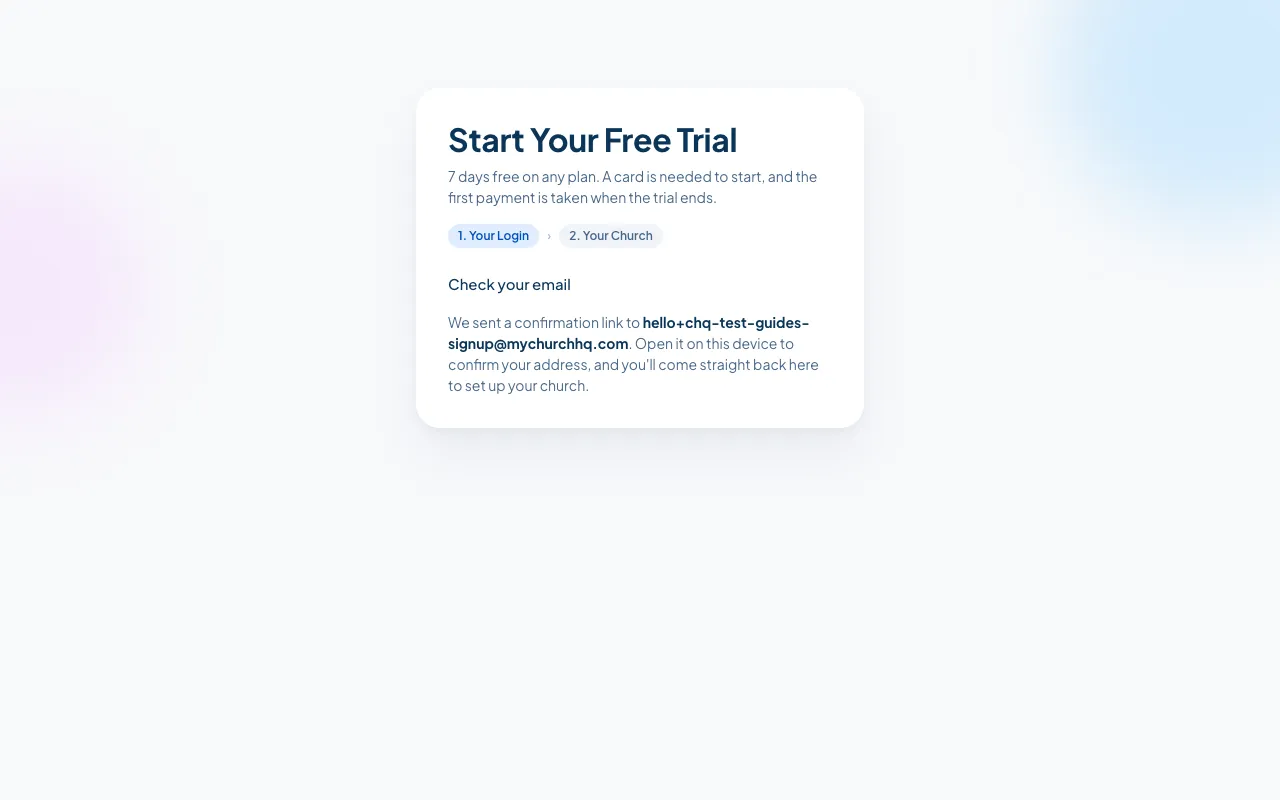
If the email has not arrived after a few minutes, look in your spam folder. If the link says it has expired, sign up again with the same address to get a fresh one.
4. Choose a plan
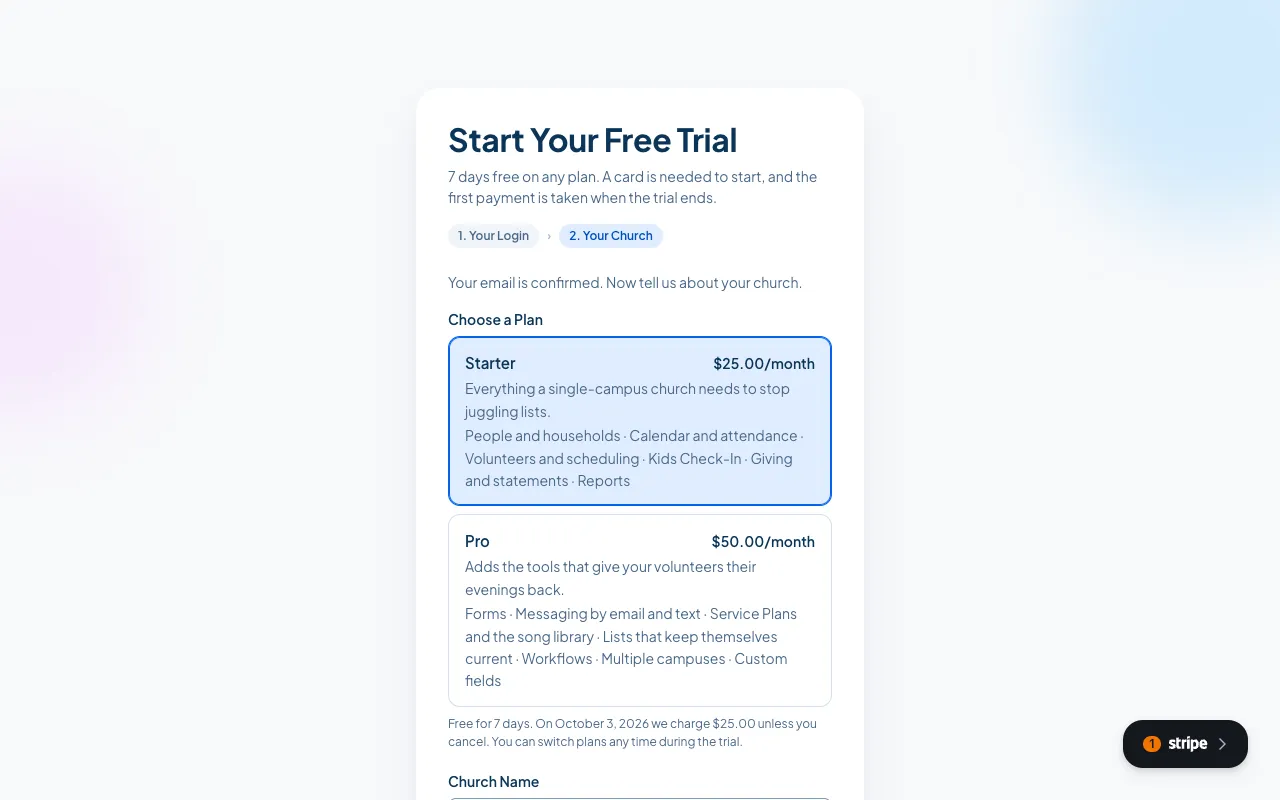
Section titled “4. Choose a plan”Now you are on step 2. Your Church. Pick Starter or Pro. Pro is chosen for you, and you can switch plans at any time during the trial, so this is not a decision you are stuck with.
- Starter is everything a single-campus church needs: people and households, calendar and attendance, volunteers, Kids Check-In, giving and statements, and reports.
- Pro adds Forms, Messaging, Service Plans, Lists, Workflows, more than one campus, and custom fields.
Under the plans, Church HQ tells you the date of your first payment and its amount.
5. Tell Church HQ about your church
Section titled “5. Tell Church HQ about your church”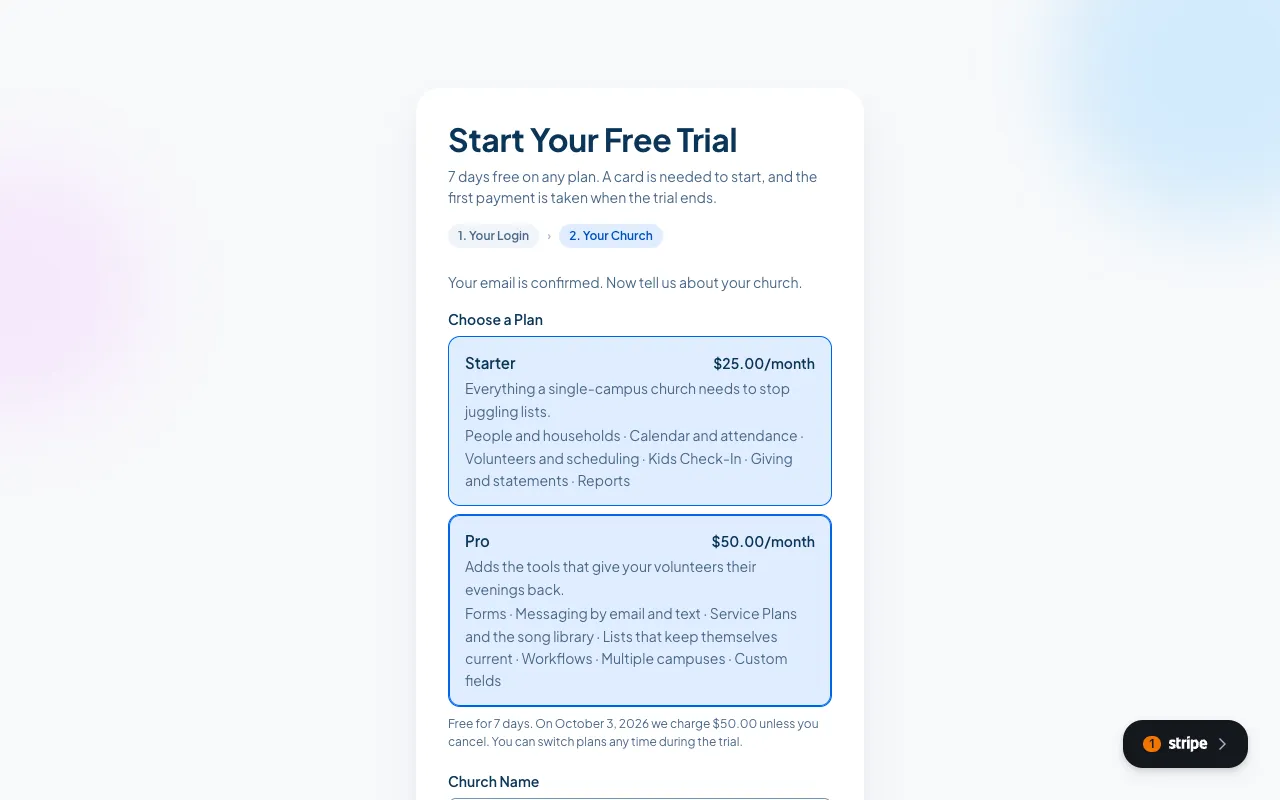
- Church Name is the name people will see, for example on your giving page.
- Church URL is the short name in your public links, such as
mychurchhq.com/give/grace-church. Church HQ suggests one from your church’s name and tells you whether it is free. You can change it later, but the old one is retired for good, so choose something you can live with. - Main Campus Address becomes your first campus. Churches with more than one location add the others later.
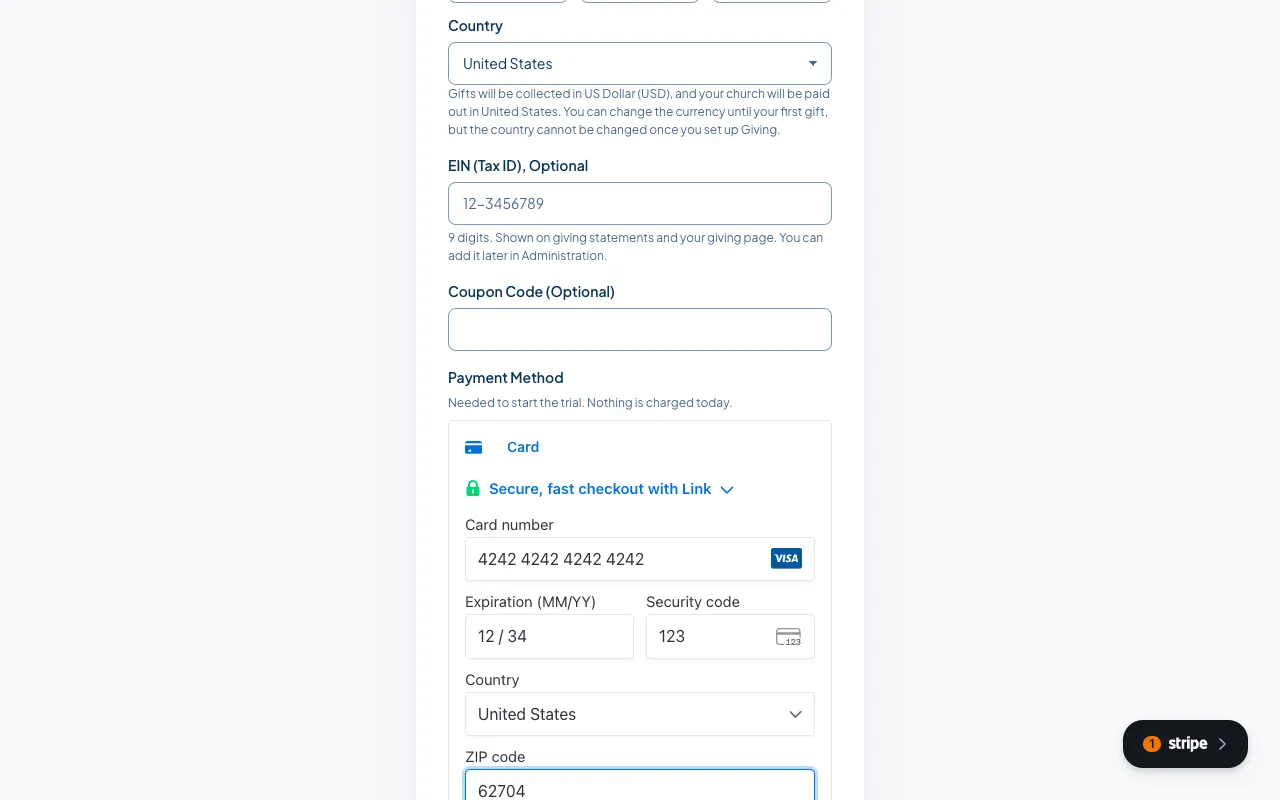
- Country decides the currency your gifts are collected in and the country you are paid out in. Church HQ tells you both as soon as you choose. You can change the currency in Preferences until your first gift is recorded, but the country is fixed once Giving is set up, so it is worth getting right now.
- EIN (Tax ID), Optional is your church’s 9 digit tax number. It appears on giving statements and your giving page, and you can add it later in Church Settings.
6. Enter your card
Section titled “6. Enter your card”Choose Card, then type the card number, the expiry date, the security code and the ZIP code. (Bank is the other way to pay, if your church would rather pay from a bank account.)
The payment field says Needed to start the trial. Nothing is charged today. That is exactly what happens: the card is saved, and the first payment is taken when the 7 days are up, unless you cancel first.
Choose Start Free Trial.
7. Set up two-step sign-in
Section titled “7. Set up two-step sign-in”Church HQ creates your church, then asks you to protect it. As the Owner, you confirm each sign-in with a code from an app on your phone, so this screen comes first.
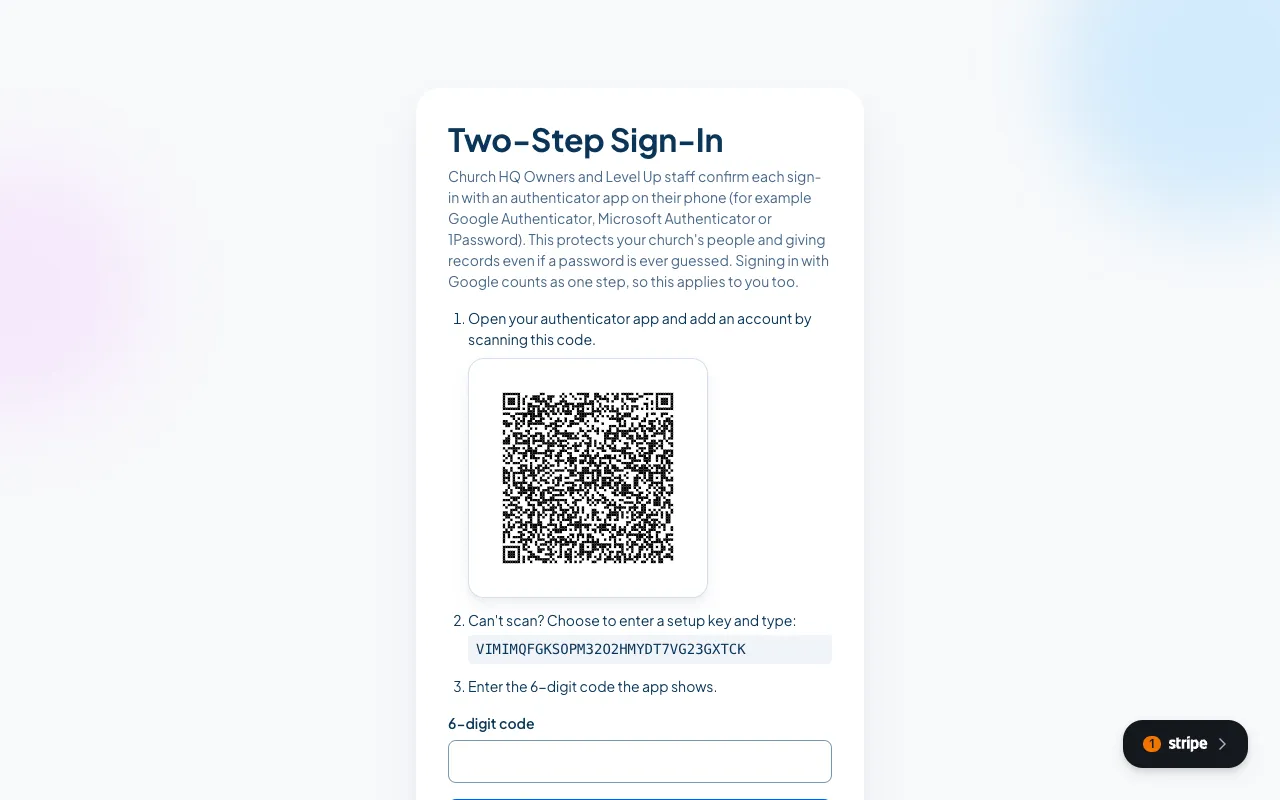
Scan the code with an authenticator app such as Google Authenticator, Microsoft Authenticator or 1Password, type the 6 digit code it shows, and choose Confirm. The full walk-through is in Set Up Two-Step Sign-In.
8. You are in
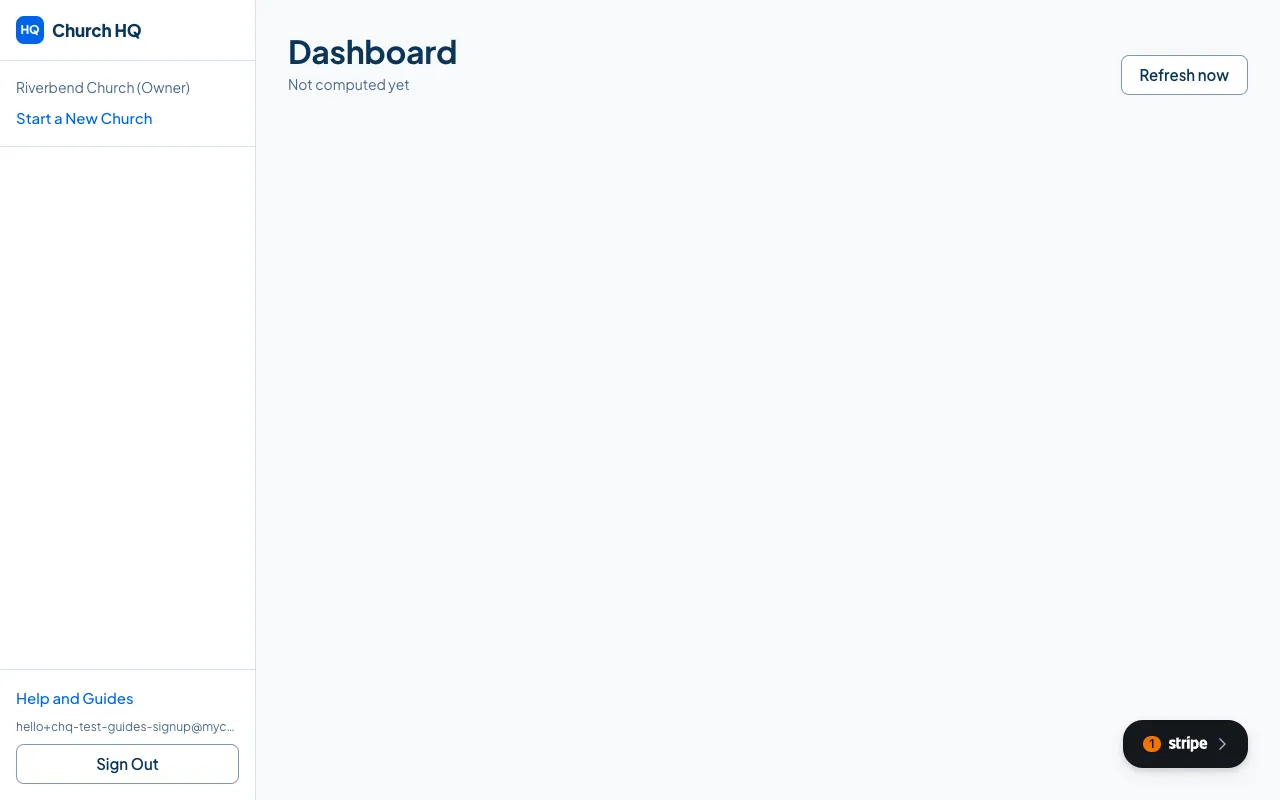
Section titled “8. You are in”Church HQ opens the Dashboard. Your trial is running.
If something goes wrong
Section titled “If something goes wrong”- The card was declined. Church HQ says so, and tells you that nothing has been charged and your login is saved. Choose Try Again, or sign in later and pick up where you left off.
- The Church URL is taken. The field tells you before you submit. Try another one.
- You already have a login with this address. Church HQ points you to sign in instead. One login can own several churches; see Start a New Church.
What to do next
Section titled “What to do next”- Set Up Two-Step Sign-In, which Owners must do.
- Invite a Teammate.
- Find Your Way Around Church HQ.
Still stuck? Contact the Help Desk at help@mychurchhq.com and tell us which guide you were following.