Kids Check-In
Check In a Child
This is the Sunday morning task. A family arrives, you find them, confirm which room each child is going to, and print the tags.
Before you start
Section titled “Before you start”A session must be open. See Start a Check-In Session.
1. Find the family
Section titled “1. Find the family”In Check In, type the family’s last name or a phone number in Search by last name or phone.
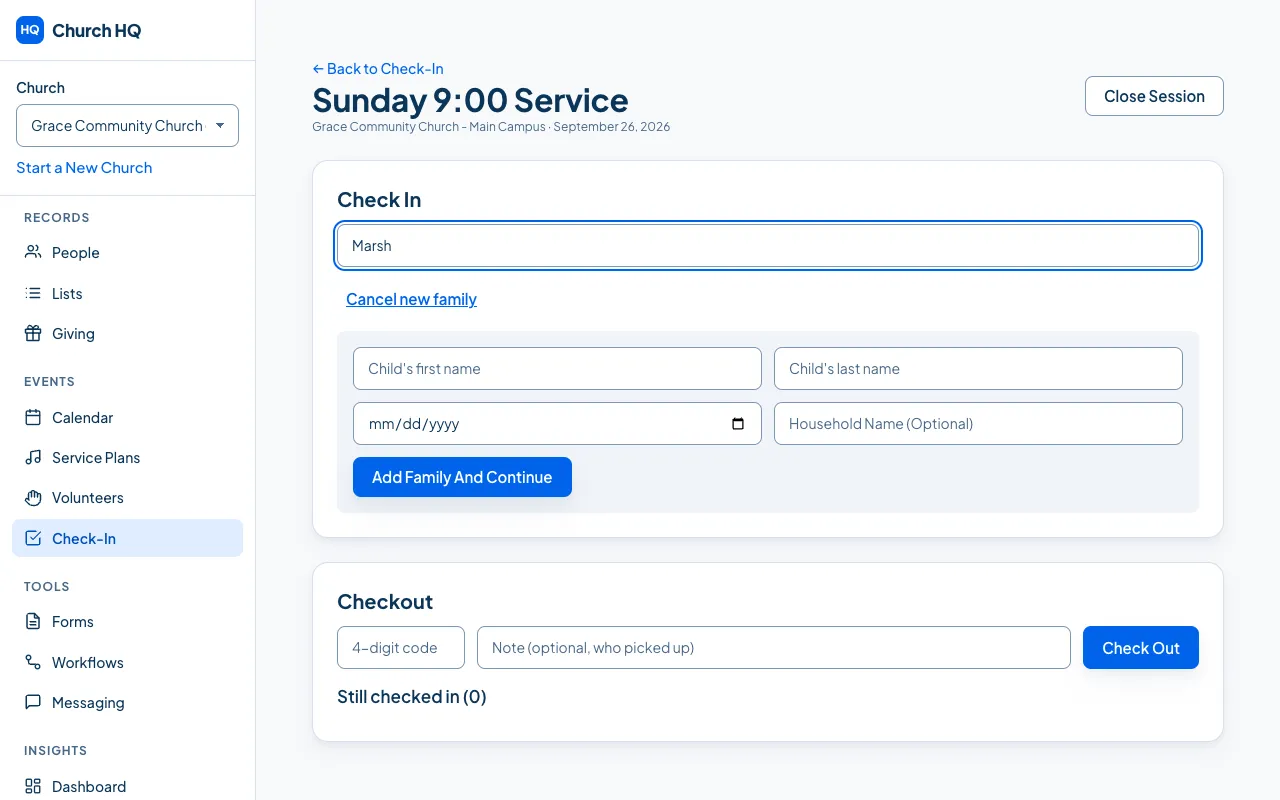
Tick each child who is here. One search finds the whole family, so a parent with three children is three ticks, not three searches.
Choose Continue, which shows how many you have selected.
2. Confirm the rooms
Section titled “2. Confirm the rooms”Church HQ suggests a room for each child from their grade or their age, and tells you when it could not decide:
- No auto match means the child has no grade or birthday that fits a room. Choose the room yourself.
- 2 possible rooms means more than one room fits. Choose the right one.
Tick Remember for next time to pin a child to that room, which makes every later Sunday one step faster.
Choose Confirm check-in.
3. Print the tags
Section titled “3. Print the tags”Church HQ shows a tag for each child, with their name, their room and a 4 digit code.
Choose Print Labels. Give the child’s tag to the child, and keep the matching code with the parent, because that code is what collects the child again.
Choose Done when the tags have printed.
If the family is new
Section titled “If the family is new”Choose + New family and fill in the parents and children. Church HQ creates the household and the people as part of checking them in, and runs its usual duplicate check while it does.
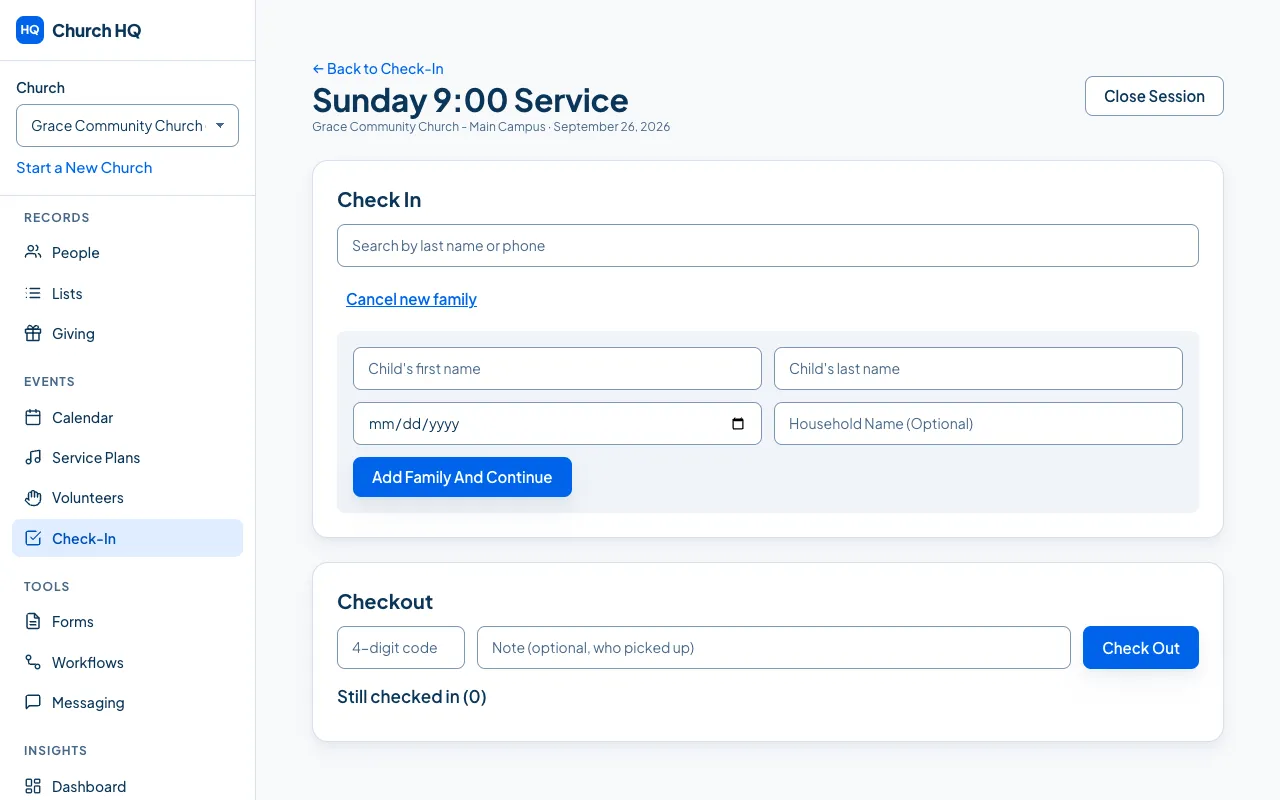
See Check In a New Family for the detail.
Good to know
Section titled “Good to know”- Allergies and medical notes come from a child’s record. See Edit a Person, Add Tags and Notes.
- Who may collect a child is on the child’s record too, as Pickup Authorizations.
- Numbers afterwards come from the sessions you run: see Run and Export a Report.
Still stuck? Contact the Help Desk at help@mychurchhq.com and tell us which guide you were following.