Calendar and Attendance
Share a Public Event Page
A public event gets its own page that anybody can open: no account, no sign-in. Put the link on your website, in a message, or behind a QR code on a poster.
-
Make the event public. On the event, set Visibility to Public. See Add an Event.
-
Choose Calendar in the sidebar. A public event’s row says Public and has a Public Page link beside it.

-
Open Public Page to see what visitors see, and copy the address from your browser to share it.
What the page shows
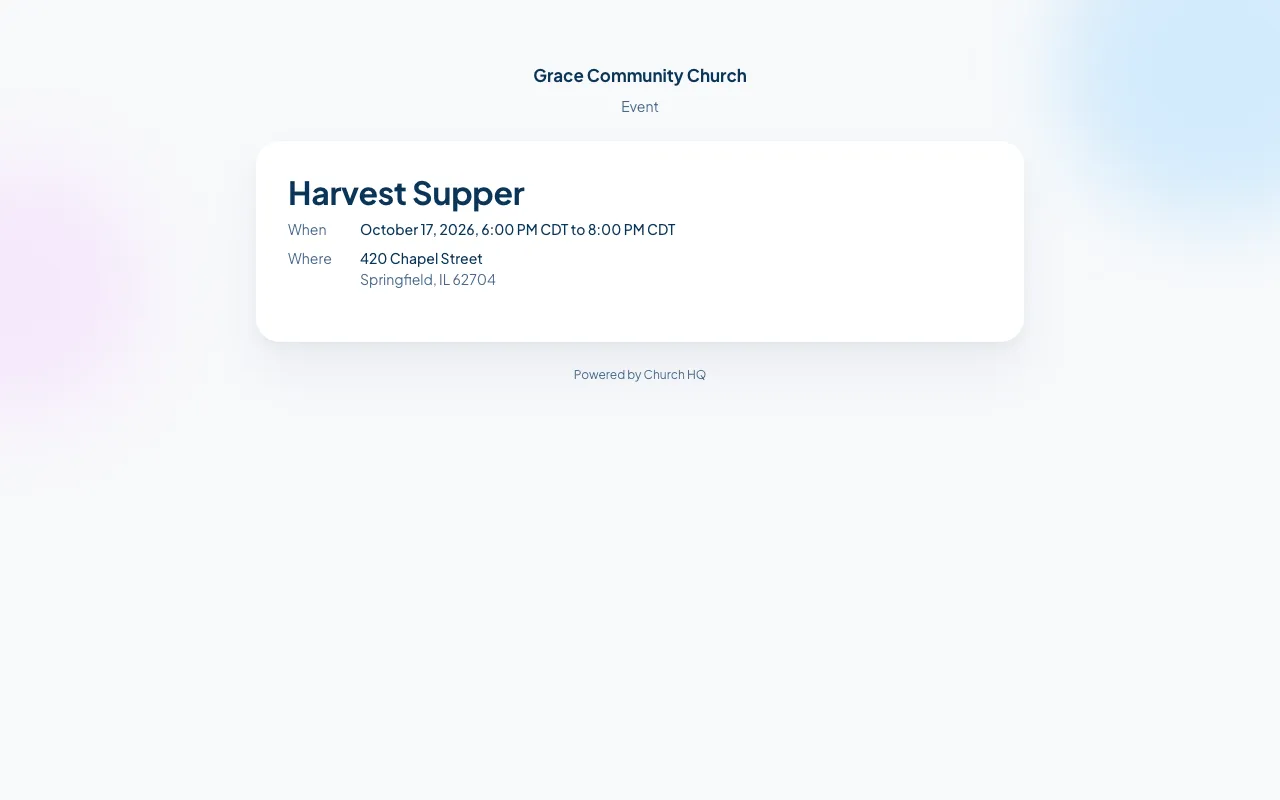
Section titled “What the page shows”Your church’s name, the event’s name, when it runs, where it is held, and the description if you wrote one. Nothing else about your church is on it, and nobody has to sign in to read it.
The address comes from the event’s own Where It Is Held fields when you filled them in, and otherwise from the campus the event belongs to, or your main campus for an event for the whole church. See Add an Event.
Good to know
Section titled “Good to know”- Private is the default. An event is only ever public because someone chose that.
- The link keeps working as long as the event exists. If it is deleted, the page says the event is no longer available rather than showing an error.
- A series makes each date its own page, so you can share one Sunday without sharing the year.
Still stuck? Contact the Help Desk at help@mychurchhq.com and tell us which guide you were following.